How to find MemberPress Blocks
First you will want to go to your WordPress dashboard and click on either page or post. Then click "Add new". After you have entered in a title, you will click below the title to where you have the option to create a new block. Click the + sign and scroll down until you find MemberPress at the bottom.

Next you will select which type of block you would like to include in the page. There are 4 different blocks currently which are Login Form, Account Form, Registration, and Protected Content.

Examples of the 4 Different Available Gutenberg Blocks for MemberPress
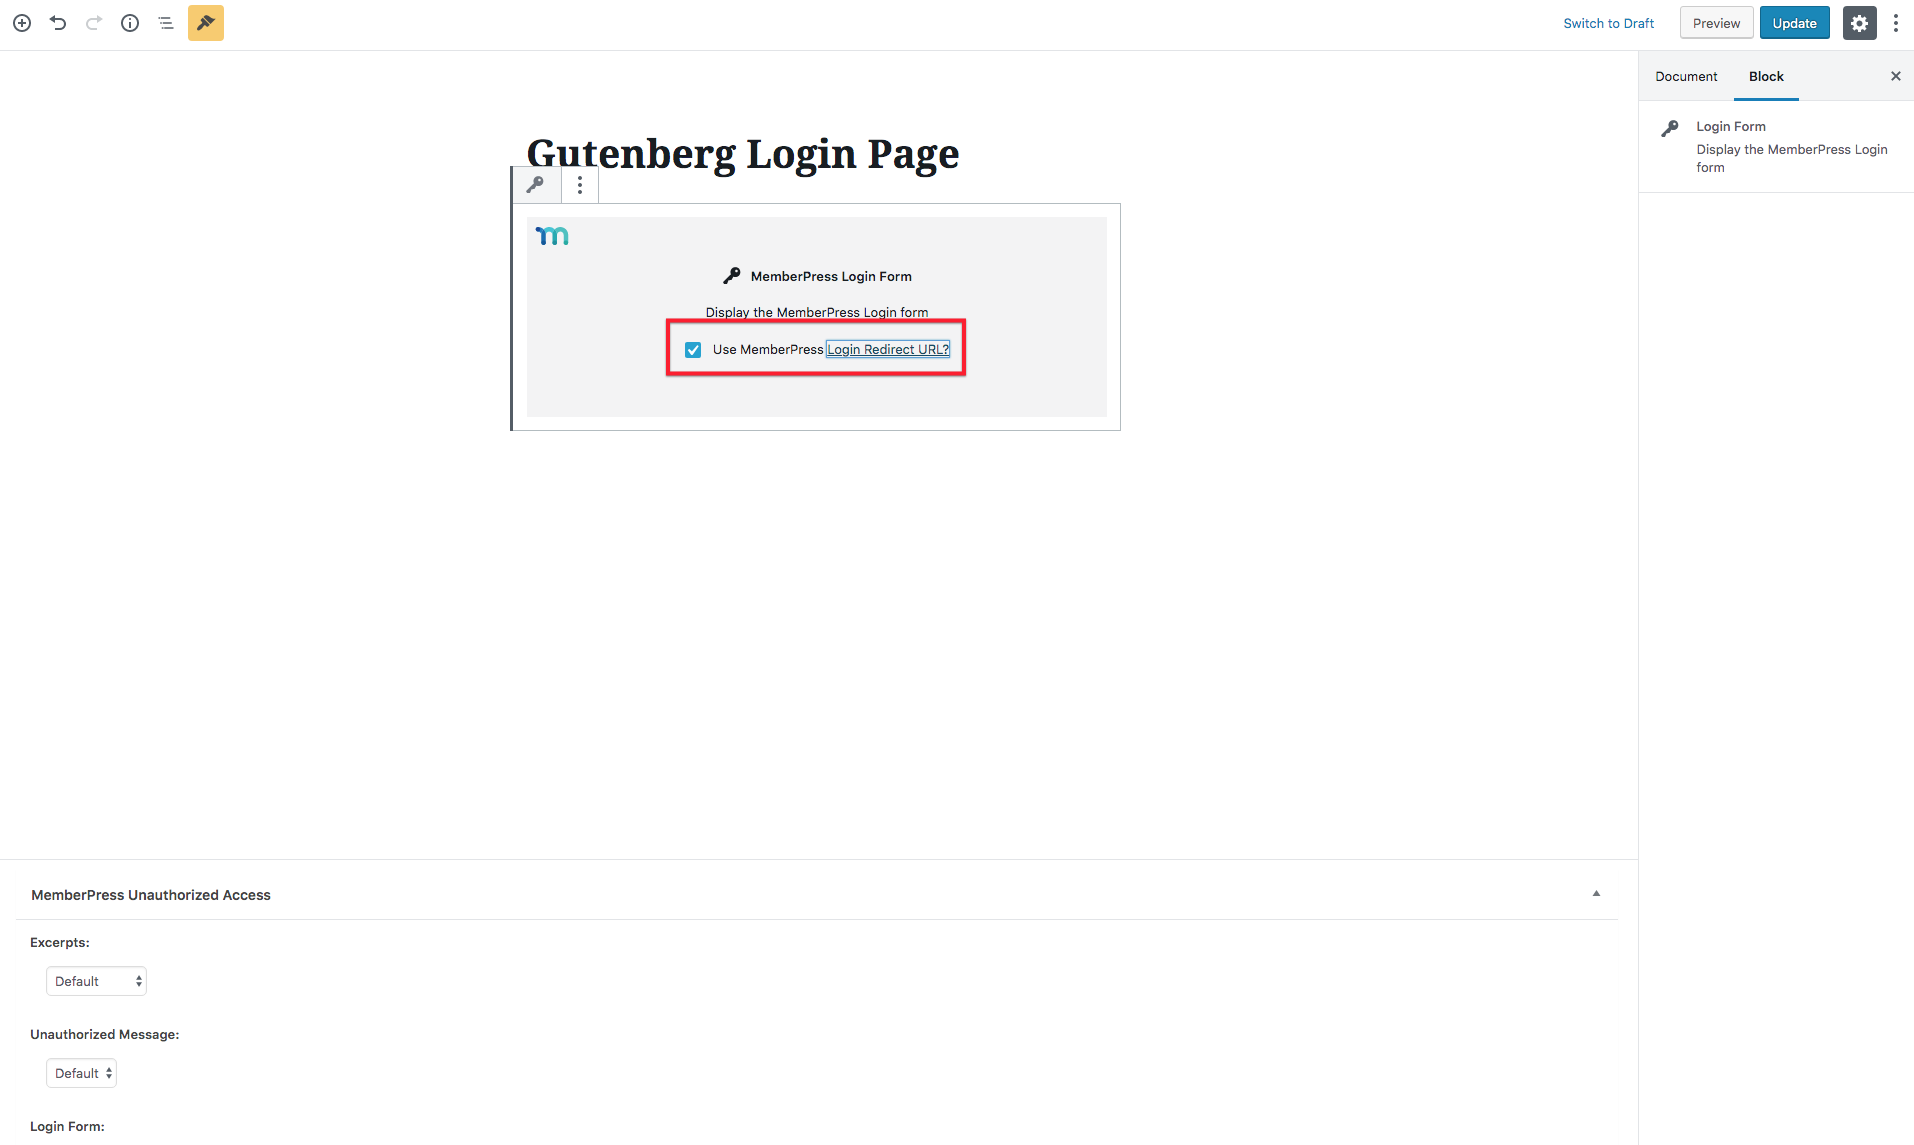
Login Form Block:
By clicking on the MemberPress Login Form Block option, the page/post will automatically have the MemberPress login form added anywhere on the page you decide.

You will have an option to use the "MemberPress login redirect URL if you would like the login form to go to the login redirect you set in MemberPress > Settings > Account tab.
 Account Form Block:
If you select the MemberPress Account Form Block, You can easily add the account information to any page or post.

Example of the account page after adding it to a post with a Gutenberg/MemberPress block.

Registration Block:
With this block feature, you can easily add any registration form to any page or post.
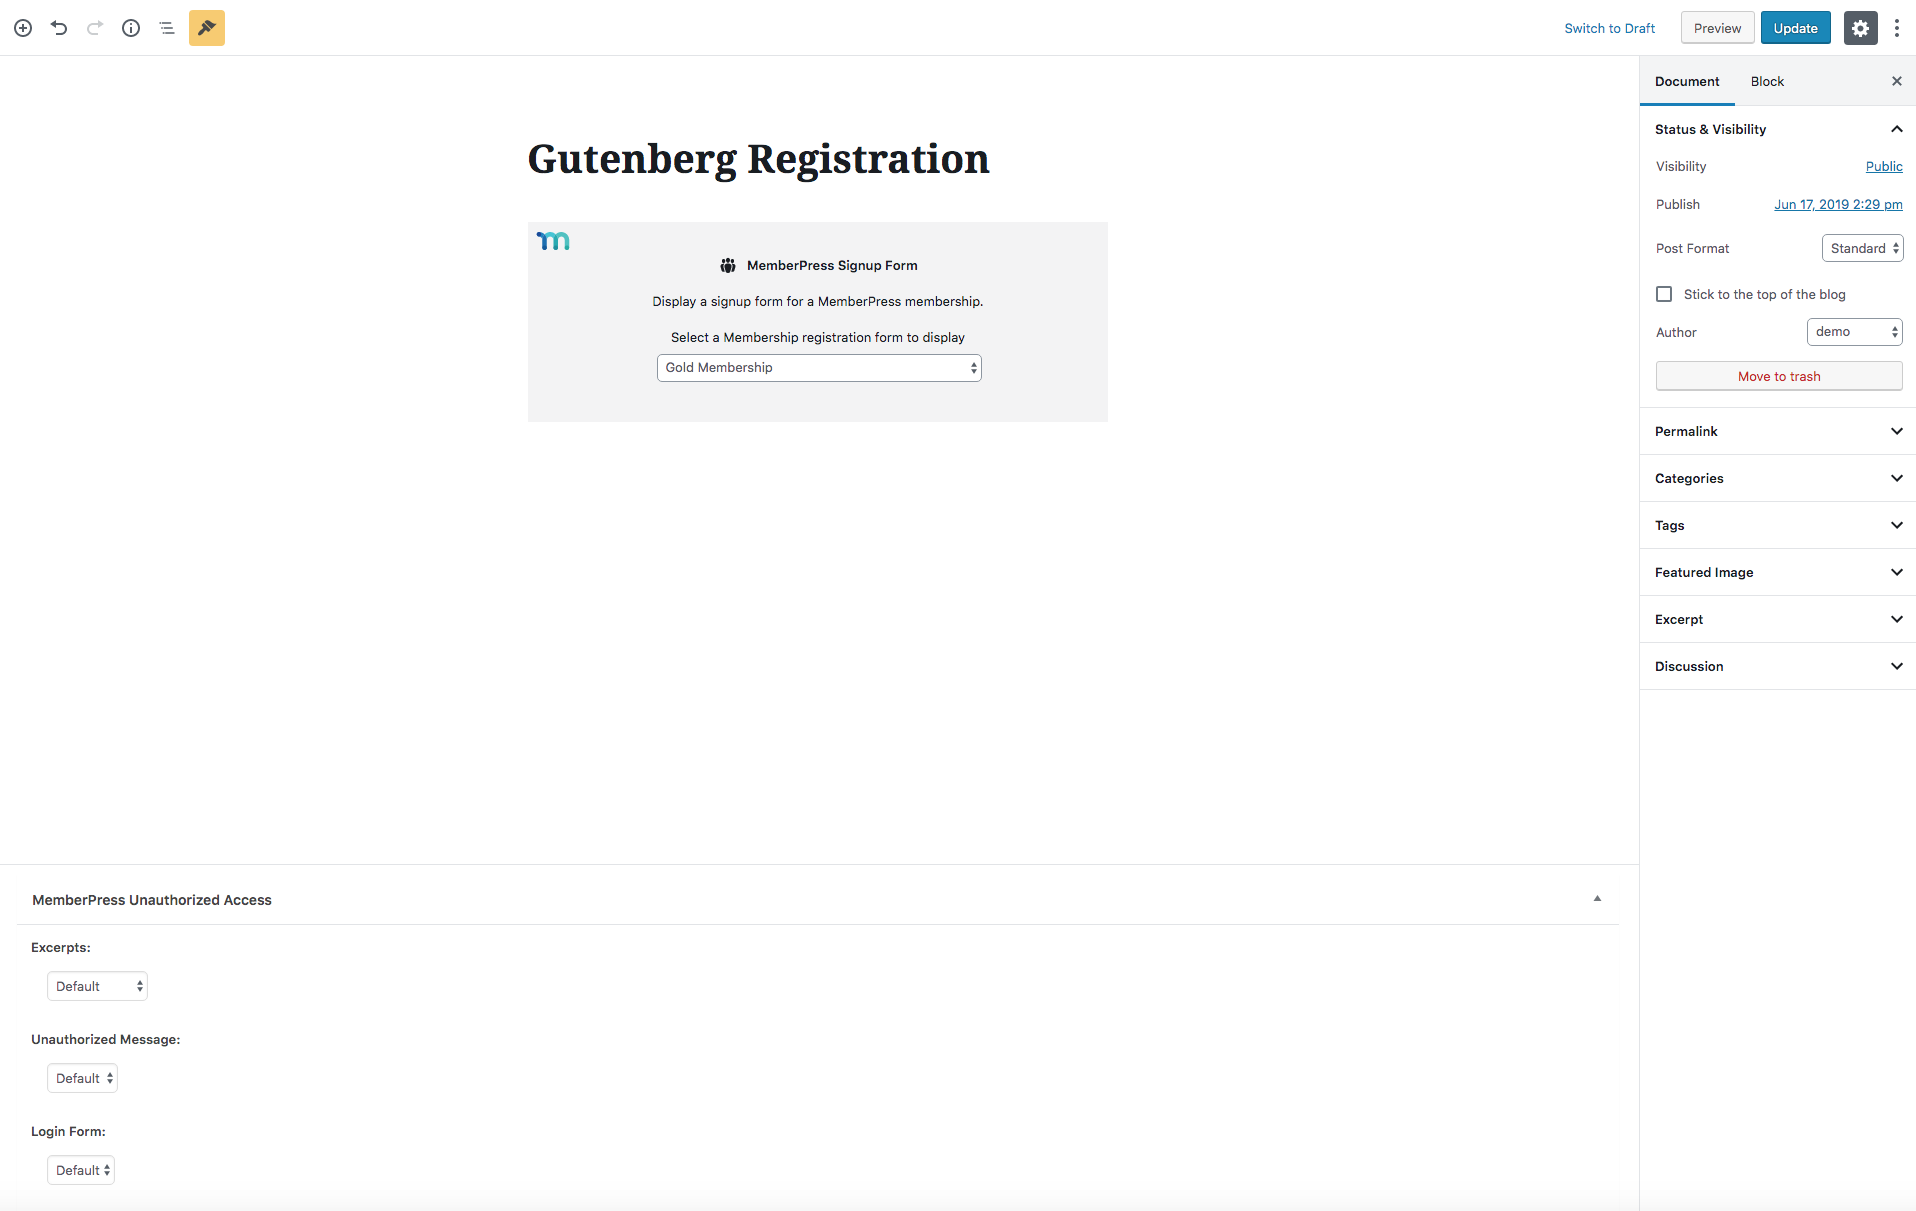
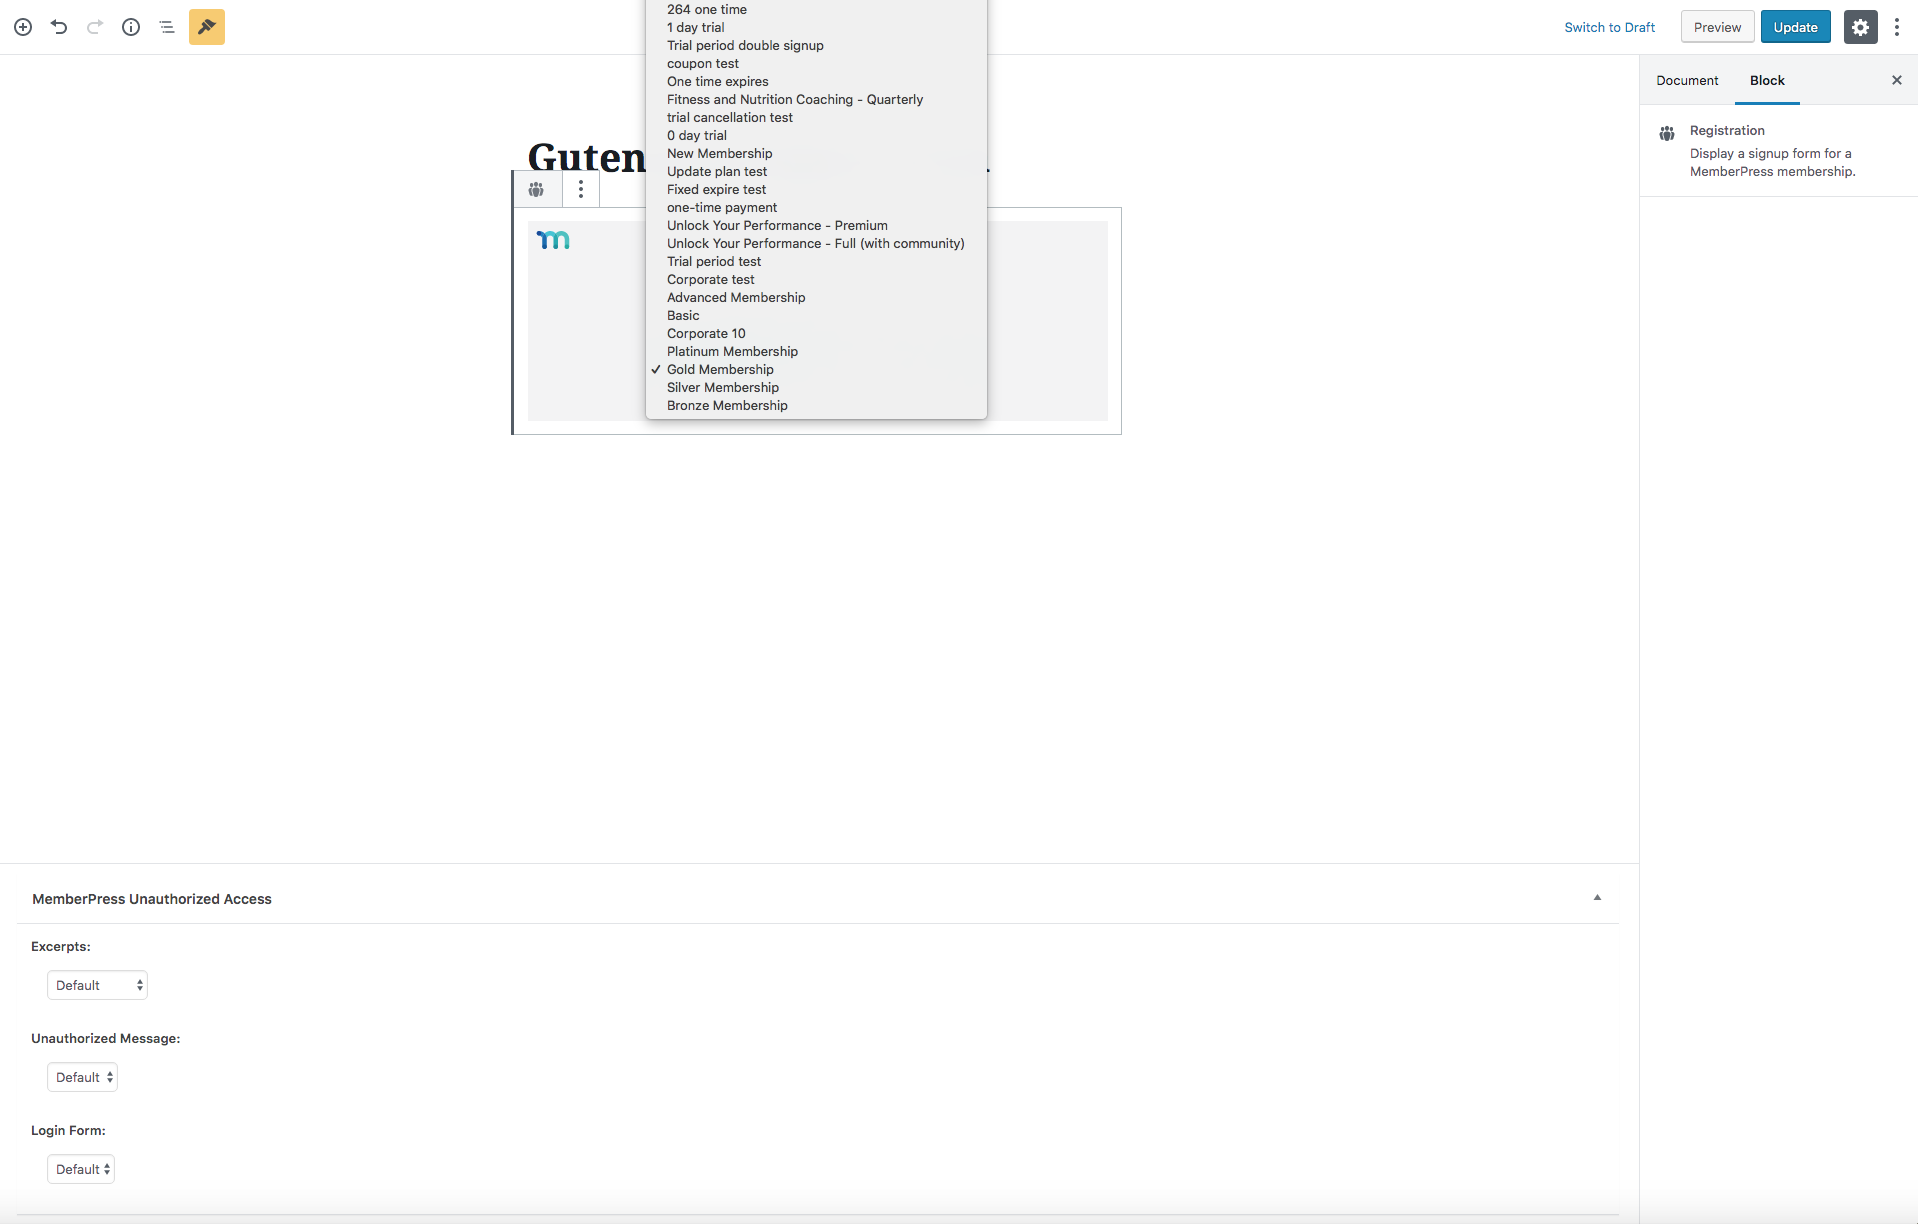
You can select any membership registration form by clicking the dropdown menu.
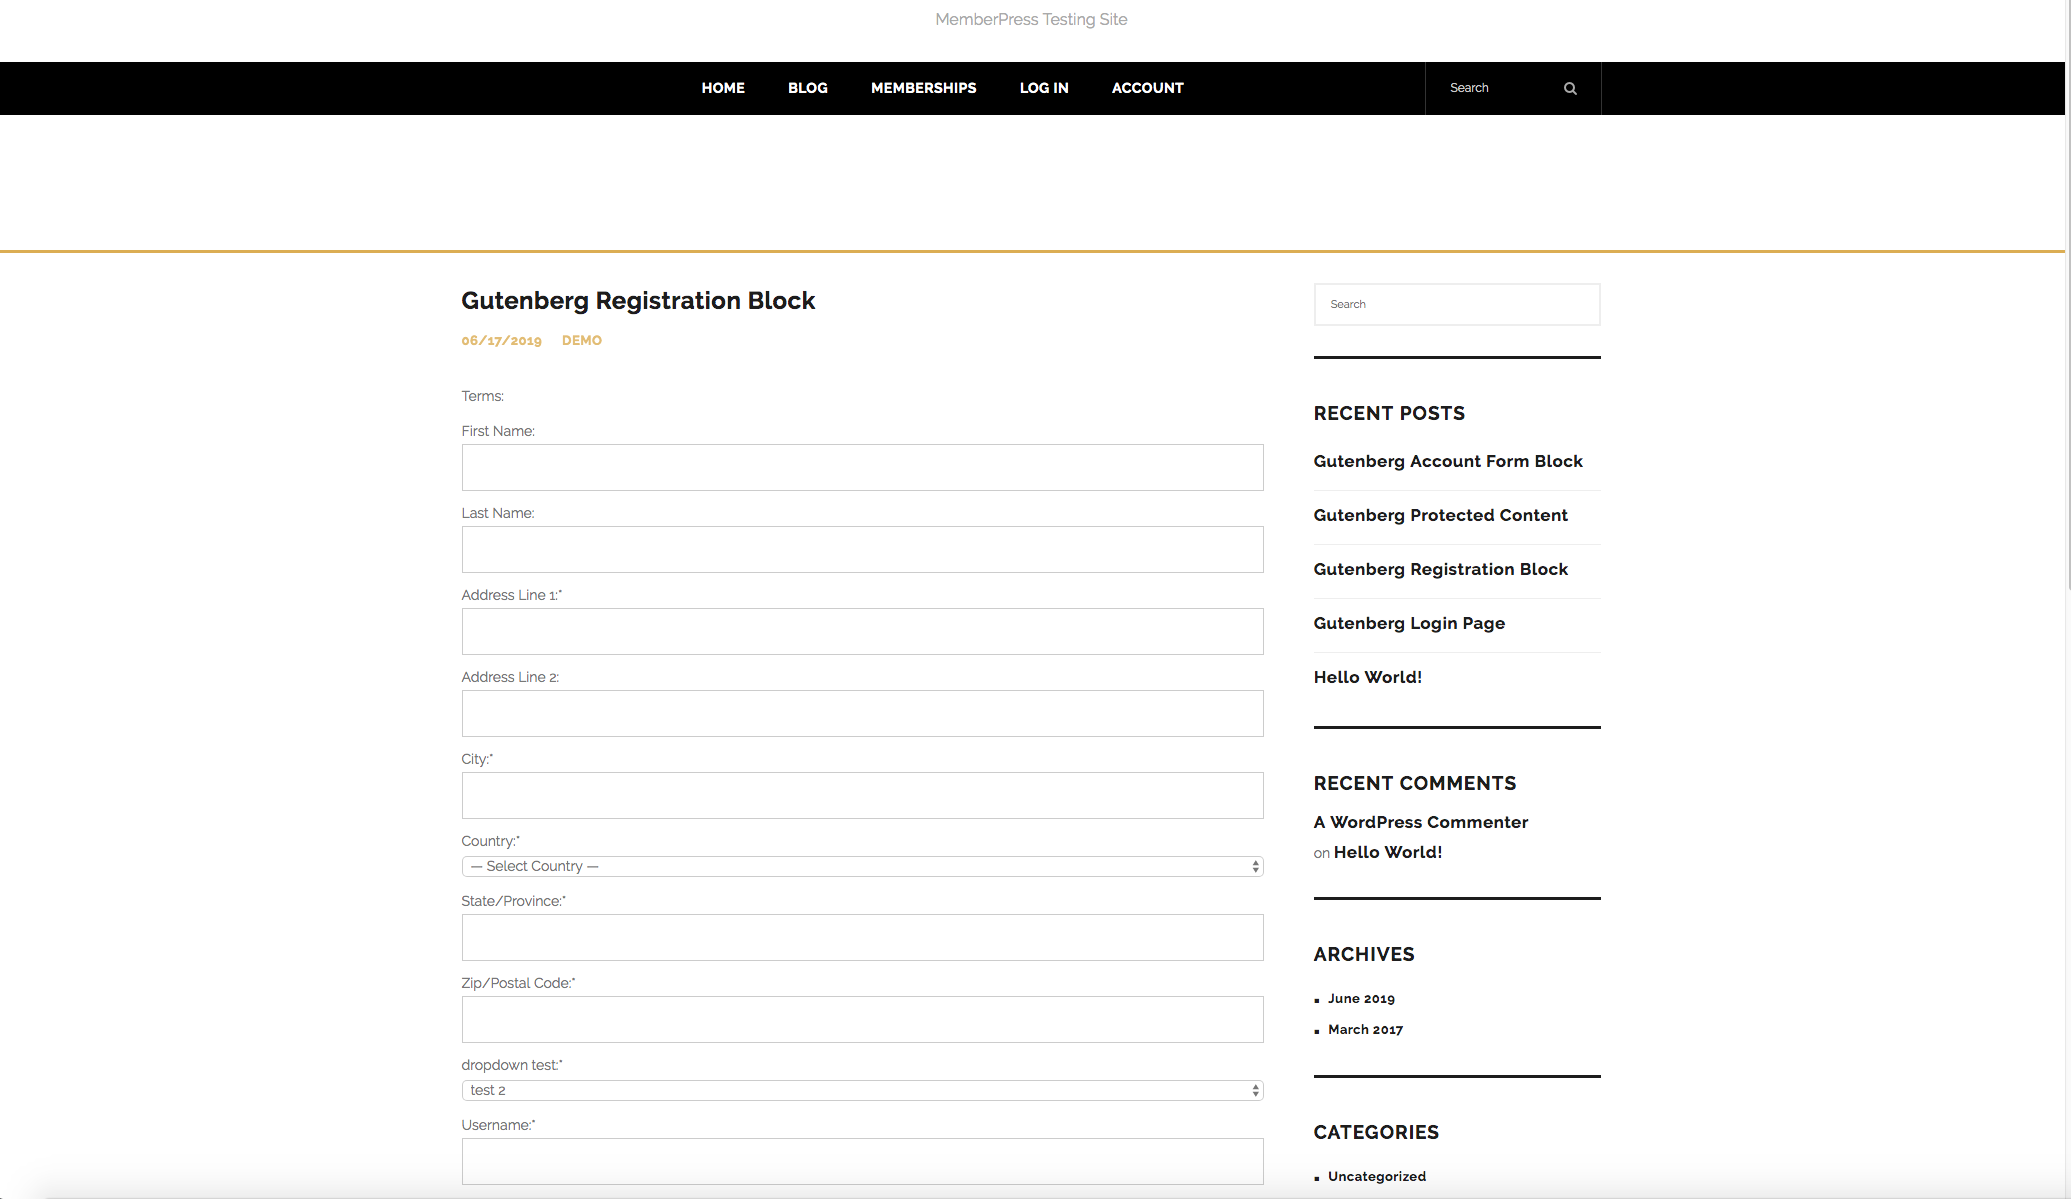
The registration page will then be visible on your page or post wherever you decide to insert the block. Below is an example post.
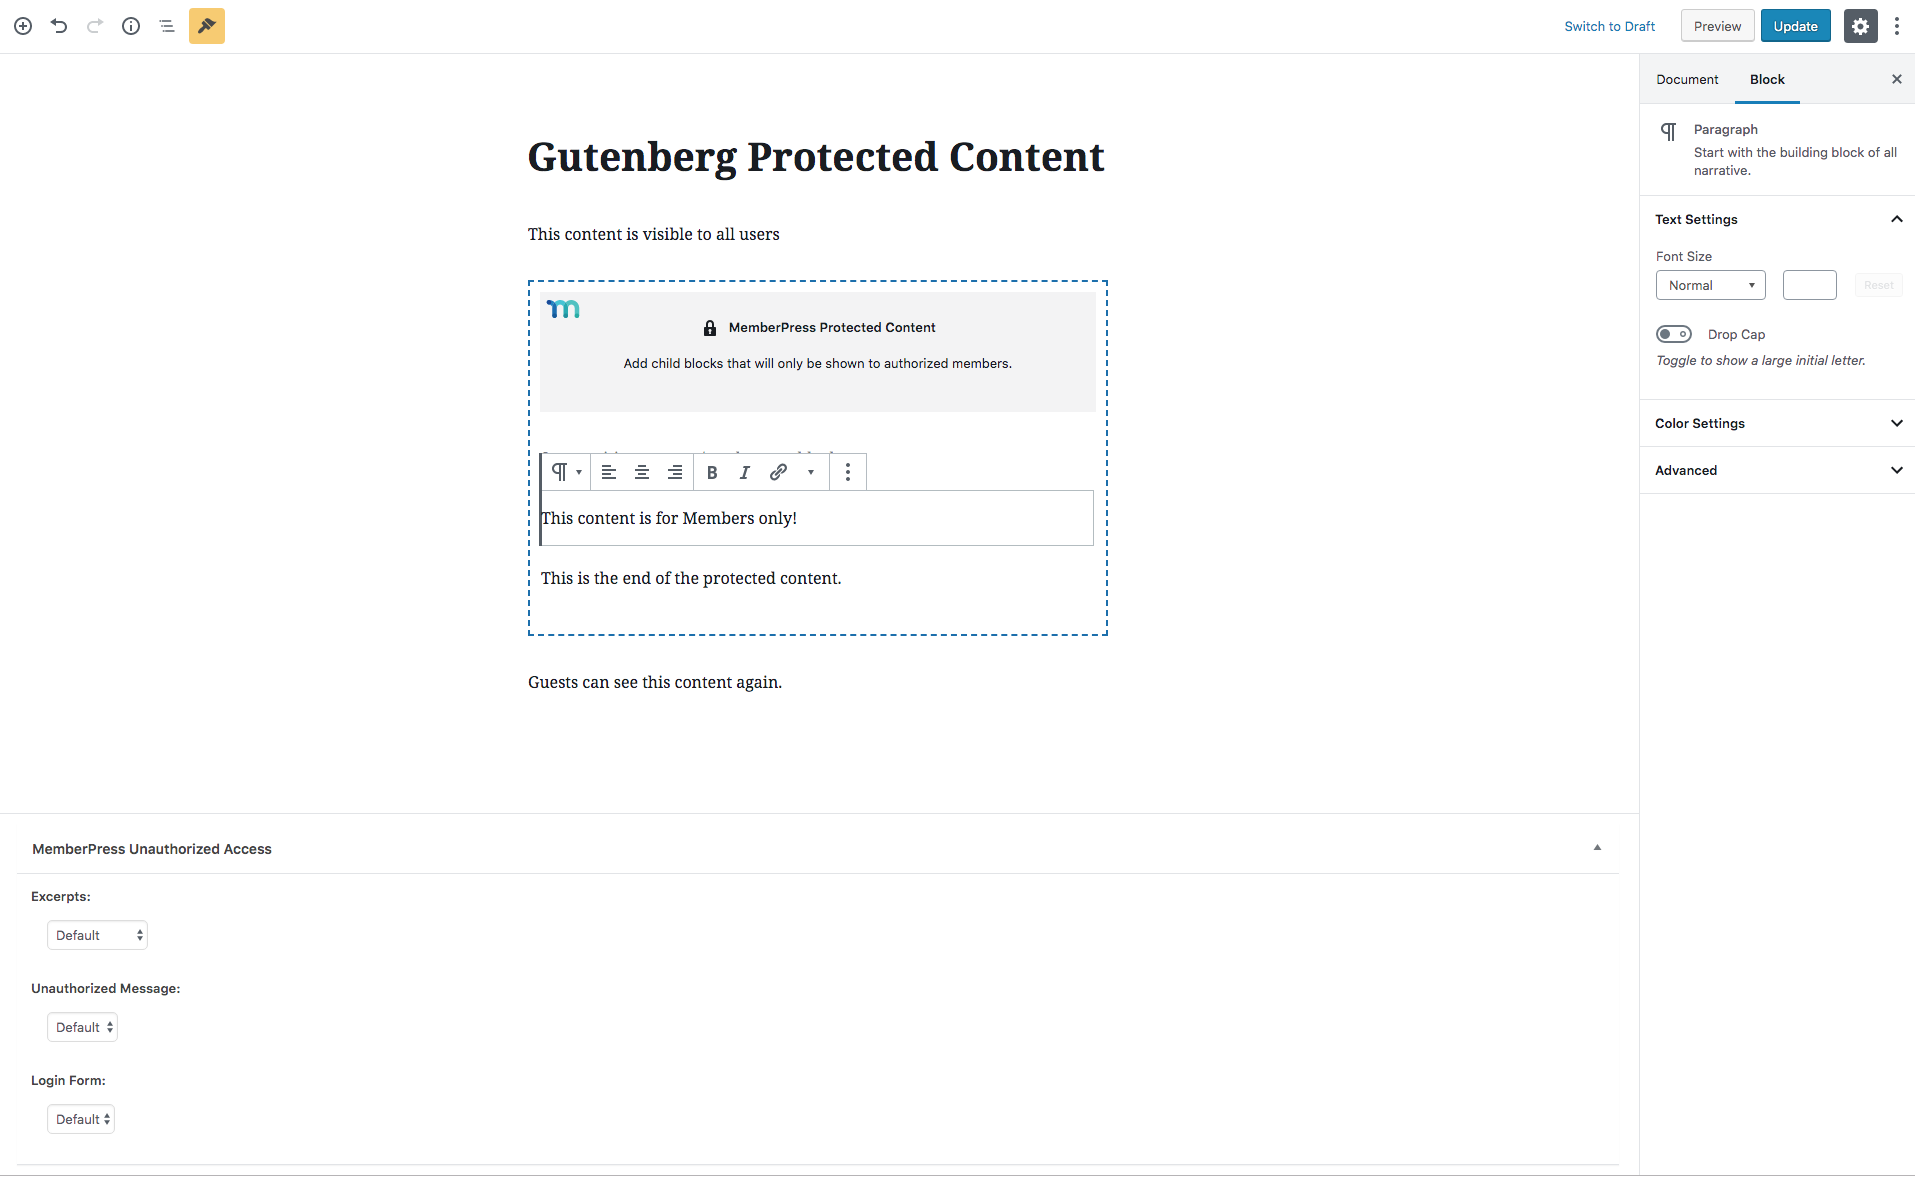
Protected Content Block:
By clicking on the MemberPress Protected Content Block, you can insert blocks of protected content anywhere on the page or post.
You can add content like images, more text, audio etc. by clicking on the 3 dots and selecting where you would like to insert the content.
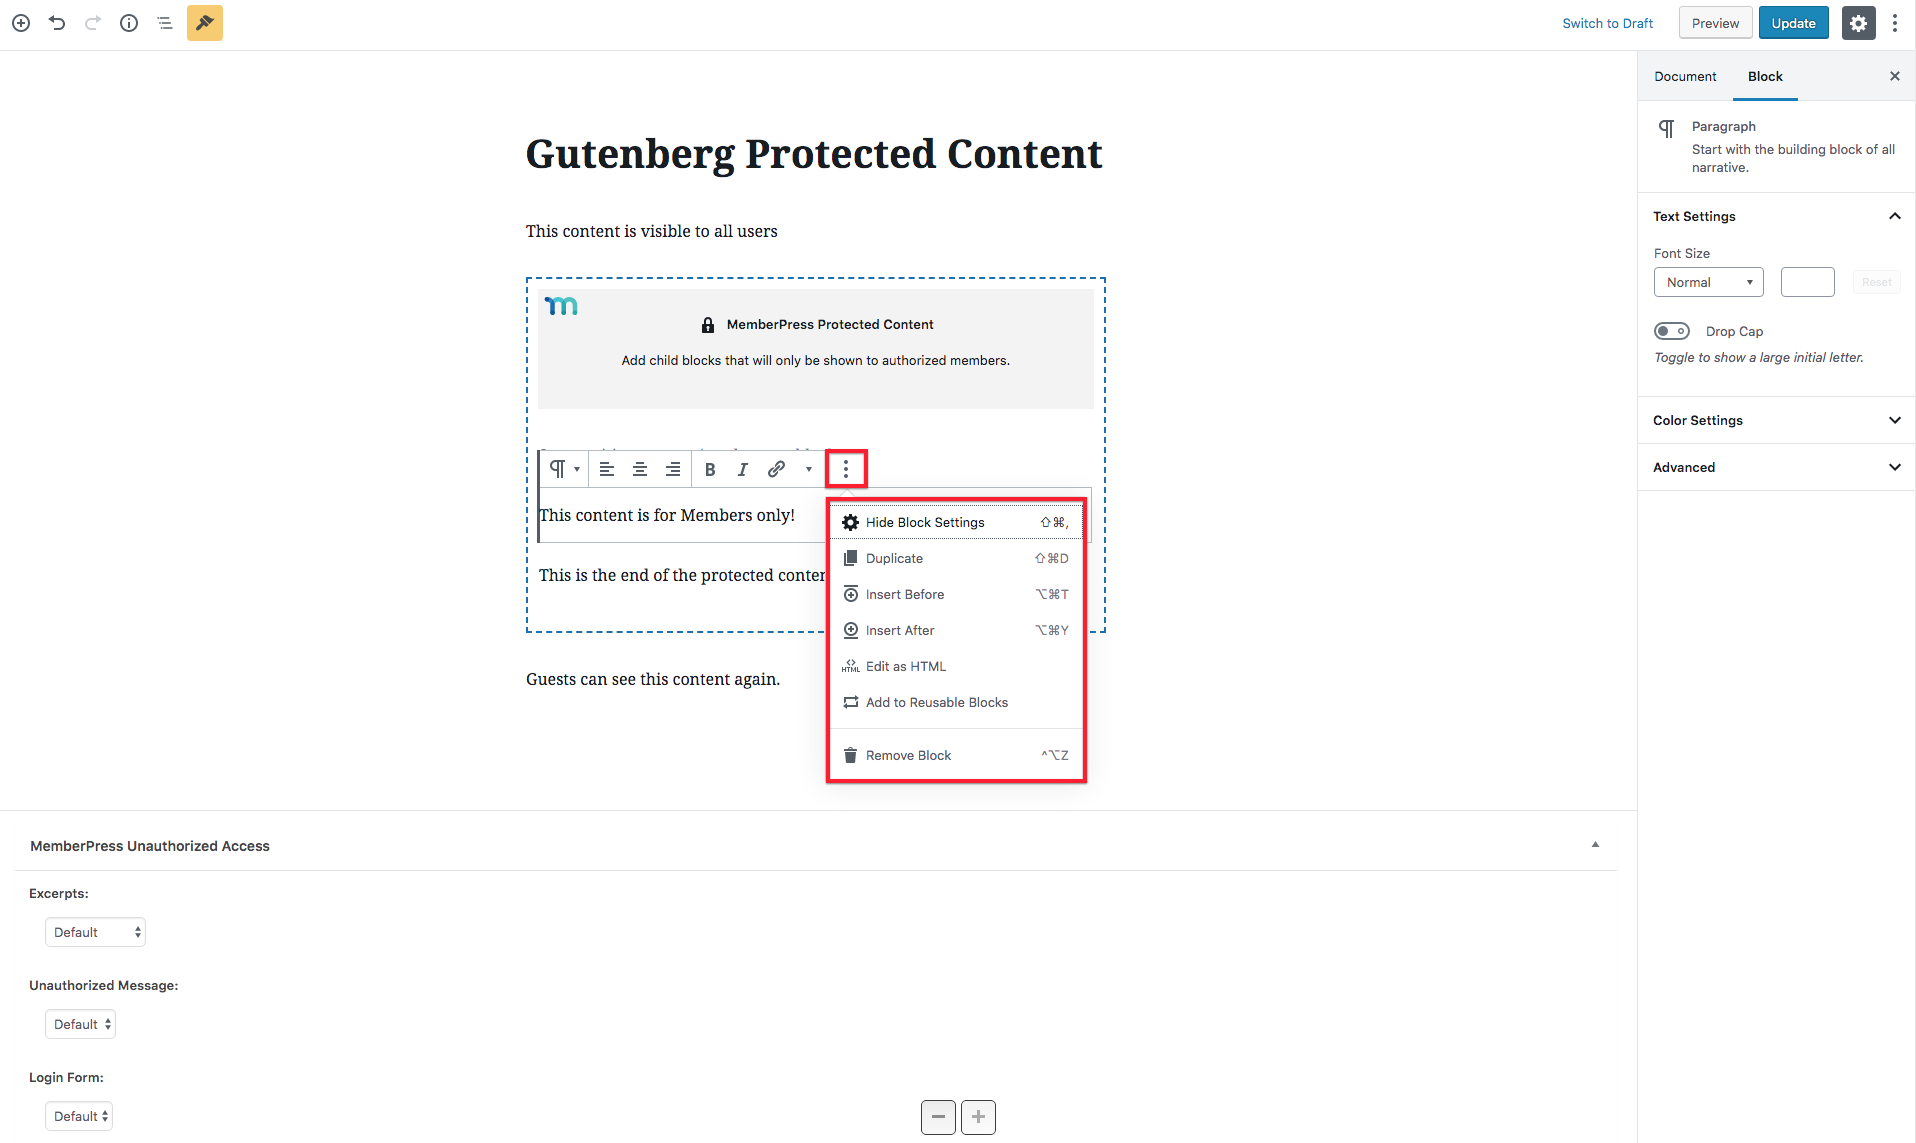
You will then click the + sign that appears to decide what type of media/text you would like to add to the block.

Here is an example of adding an image to the block that will be protected.

Finally be sure to add an Access Rule to the block.

We recommend creating a Partial Rule as it is easier to use over various block types.

You also have the option to have a custom message for each individual block if you wish. Under the "Unauthorized Access" dropdown when clicking on the block. You can choose to
"Hide Only" , "Show Message", "Show Login Form", or "Show Login Form and Message"

Below is a quick demo video showing how to add the various blocks from MemberPress
Was this article helpful?
That’s Great!
Thank you for your feedback
Sorry! We couldn't be helpful
Thank you for your feedback
Feedback sent
We appreciate your effort and will try to fix the article