Welcome to the wonderful world of The Events Calendar! You’re probably reading this because you’ve purchased one of the paid plugins and are ready to unleash its powerful calendar features. Want a little help downloading and installing it? You’ve come to the right place!
Let’s get right to it.
Downloading the Free Plugin
Why are we talking about the free plugin when we’re trying to get the other plugin working? Because your purchased plugin only works if the free plugin (The Events Calendar aka Core) is installed and activated on your site. For example, The Events Calendar plugin offers the core functionality for your calendar and The Events Calendar PRO add-on extends the advanced features you’re looking for. Similarly, the other premium add-ons need Core to run.
So our first step is to snag the free plugin and make sure it is installed and activated.
You can install The Events Calendar by going to Plugins > Add New in your WordPress admin and searching for “The Events Calendar.” Or, you can download the zipped file directly and upload the extracted file to your /wp-content/plugins directory via FTP.
Regardless of how you download and install the free plugin, you will activate it by going to Plugins > Installed Plugins and clicking the “Activate” link for the plugin.

Downloading Your Purchased Plugin
Alright, enough of the free plugin, right? Let’s move on to what you paid for!
A direct link to download your purchase is included in the email you receive when completing your purchase. If you have that handy, that’s a great place to start.
You can also grab your purchased plugin by logging into your account on this site and using the main menu to navigation to My Account > Downloads. For this tutorial we are using Events Calendar PRO as an example, but the process is the same for any of our premium add-ons.
You’ll see a list of all the plugins registered to your account on this screen along with a link to download them. The latest version will be selected by default, but you have the option of selecting any past release as well. Select the version you want and hit the download button.

? Some computer operating systems will automatically unzip a ZIP file when it downloads. If this is the case for you, you will want to re-zip the folder so that you are able to upload it in the WordPress admin.
Installing Your Purchased Plugin
Downloading the plugin is great, but installing it is what you really want to do, right?
Your download comes as a .zip file and you have two options for installing it:
- Using the WordPress interface. You can upload the .zip file directly to site in WordPress. From your WordPress dashboard, go to Plugins > Add New and click the “Upload Plugin” option at the top of the screen. That will upload and extract the file for you and prompt you to activate the plugin.
- Upload the plugin manually via FTP. You can also upload the plugin directly to your /wp-content/plugins directly using the FTP client of your choice. Before doing this, however, please unzip the file and upload the folder that is contained in it.
If you are new to WordPress, we recommend option one. Regardless of which method you use to install the plugin, you will be able to activate it on the Plugins > Installed Plugins screen in WordPress. Head over there and click the “Activate” link under the plugin.

Now you’re set up and ready to start using the plugin! The plugin features will instantly unlock and be available to you once the plugin has been activated. Next you’ll want to configure your settings.
Activating Event Aggregator and Promoter
Event Aggregator is built right into The Events Calendar. So to start using it on your site, just make sure The Events Calendar 4.3 or higher is installed and activated on your site (see above for help with this if need be).
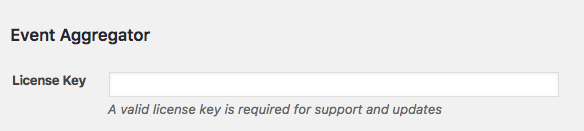
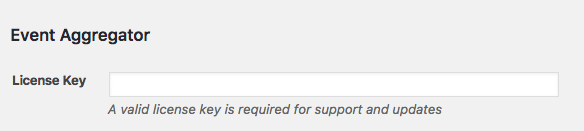
Once The Events Calendar 4.3 or higher is installed and activated on your site, head to Events → Settings → Licenses and look for the Event Aggregator license key field. You will need to input your license key. It should look like this:
☝️ Enter your Event Aggregator there, click “Save Changes” once the license validates, and you’re good to go! Check out our collection of Knowledgebase articles about Event Aggregator and Promoter to learn more about using it.
Was this article helpful?
That’s Great!
Thank you for your feedback
Sorry! We couldn't be helpful
Thank you for your feedback
Feedback sent
We appreciate your effort and will try to fix the article